Table Of Contents
Step-by-Step Ductwork Installation Guide
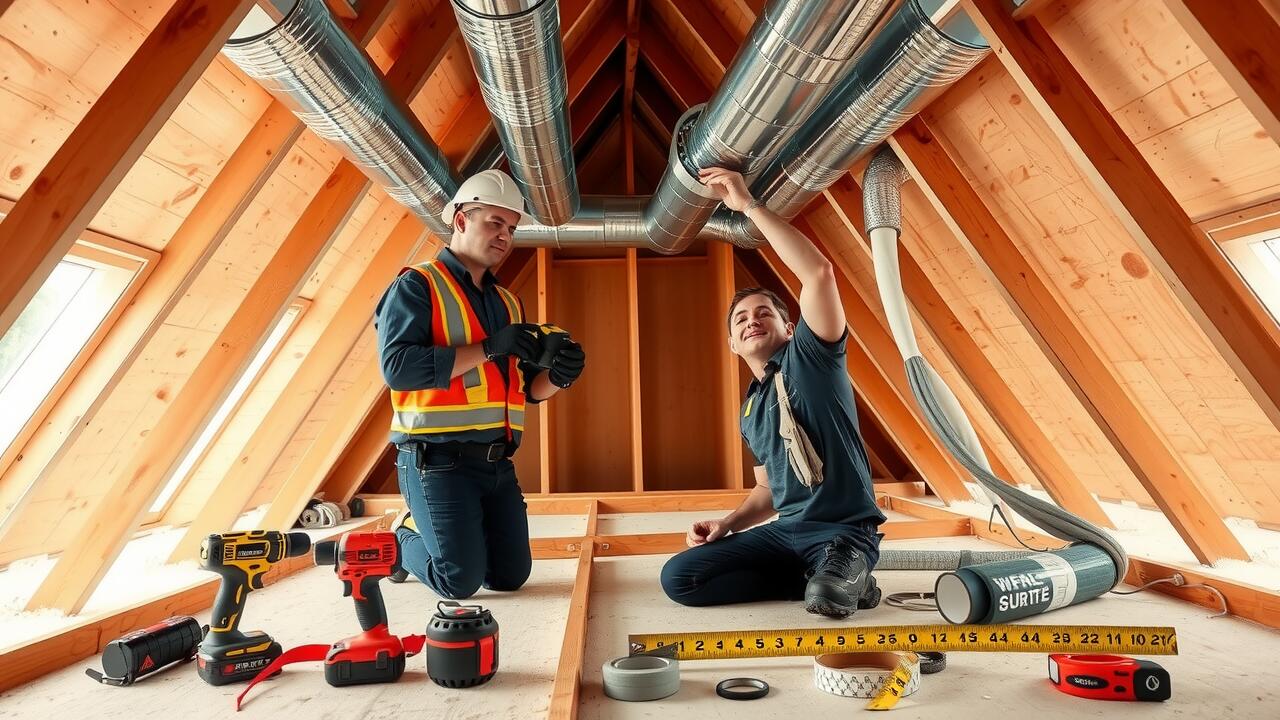
To begin your air duct installation, carefully measure the spaces where the ducts will be installed. Accurate measurements are crucial for ensuring a proper fit. Gather all necessary tools and materials, including duct sections, connectors, and metal tape. This preparation phase will save time and help streamline the installation process. Once you have everything ready, start by laying out the duct sections according to your planned design, keeping in mind the airflow path and the layout of existing structures.
When you connect the duct sections, make sure to use appropriate connectors and seal any joints with metal tape. Proper sealing minimizes air leaks, allowing your HVAC system to operate more efficiently. If you encounter obstacles such as beams or pipes, consider using flexible ducting to navigate around them. Secure your ductwork with hangers to prevent sagging and ensure stability over time. Following these steps will help you achieve a successful air duct installation while maintaining optimal airflow and system performance.
Installing Your First Duct Section
When embarking on air duct installation, the initial step involves gathering all necessary tools and materials. This includes duct sections, connectors, a tape measure, and a quality sealant. Thoroughly examine the HVAC system’s design and layout to determine where each duct will be installed. Measuring the spaces accurately ensures a good fit and proper airflow. Cut the duct sections to the required lengths, making sure to wear safety goggles during this process to protect your eyes from debris.
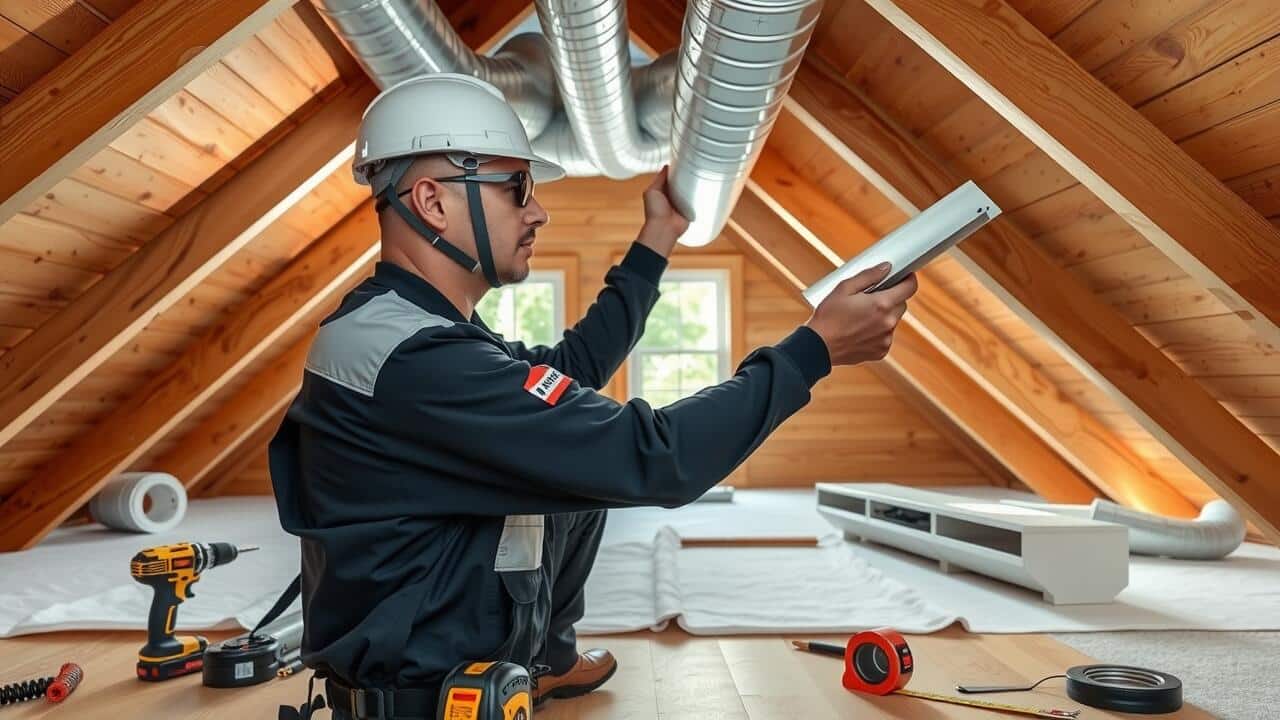
After preparing the duct sections, begin connecting them following the planned layout. Secure each connection with metal screws or duct tape, ensuring no gaps remain that could cause leaks. Check alignment regularly to maintain the intended airflow direction and efficiency. During this phase, keeping everything sealed properly is crucial. Proper sealing minimizes energy loss and enhances the overall performance of the HVAC system.
Common Mistakes to Avoid
One common mistake during air duct installation is improper sizing of the ducts. Many DIY enthusiasts underestimate or overlook the importance of calculating the appropriate dimensions for their system. Ducts that are too small can restrict airflow, leading to inefficiencies and increased energy bills. Conversely, ducts that are too large may result in inadequate pressure, causing the system to work harder than necessary. Ensuring accurate measurements before beginning the installation process can save time and reduce future issues.
Another frequent error is neglecting to seal joints and connections properly. Failing to use the right materials or techniques can lead to substantial air leakage, undermining the entire system’s efficiency. Gaps and cracks in ductwork can significantly hinder airflow, making it difficult for the heating or cooling system to maintain a consistent temperature. Taking the time to seal all connections tightly during air duct installation is crucial for optimal performance and energy savings.
Troubleshooting Installation Issues
When tackling common issues during air duct installation, it’s essential to identify where things might have gone wrong. Uneven airflow in different rooms can often indicate that the ductwork is not properly sealed. Check for gaps or leaks in the joints and connections, as even small openings can dramatically affect airflow efficiency. Using mastic sealant or metal tape can help ensure a tight seal. Additionally, verify that the duct sizes align with the specifications required for your HVAC system to maintain consistent airflow throughout your space.
Another common pitfall during air duct installation is improper alignment or sizing of duct sections. Duct sections that are too long without any turns can create excessive resistance, leading to decreased airflow and system strain. Consider implementing bends and offsets judiciously to navigate your home’s layout without overly restricting airflow. If you encounter noise issues, such as rattling or whistling, this could be caused by loose fittings or inadequate support. Ensuring proper installation practices can help mitigate these problems and contribute to a quieter, more efficient HVAC system.
Insulating Your Ductwork
Proper insulation of your ductwork is essential for maintaining energy efficiency in your heating and cooling systems. Uninsulated or poorly insulated ducts can lead to heat loss in the winter and excessive heat gain in the summer. This not only affects the comfort of your living space but also increases energy bills. By ensuring that your ducts are well insulated, you can optimize your air conditioning and heating, reducing strain on your system and improving overall performance.
When considering air duct installation, selecting the right insulation material is crucial. Options like fiberglass, foam board, or reflective insulation each have their benefits. Fiberglass is commonly used due to its affordability and effectiveness, while reflective insulation can be beneficial in hot climates where radiant heat is a concern. Regardless of which material you choose, ensure that it compliments the overall efficiency of your HVAC system to achieve the best results.
Why Insulation Matters for Efficiency
Insulating your ductwork plays a crucial role in maintaining energy efficiency within your home. Proper insulation reduces heat loss or gain as air travels through the ducts, ensuring that the conditioned air reaches its intended destination without unnecessary energy expenditure. When ducts are poorly insulated, the heating or cooling systems work harder to compensate for the lost energy, resulting in higher utility bills and increased wear on your HVAC system.
Effective insulation also helps to improve overall indoor air quality. When ducts are well insulated, they are less susceptible to dust, moisture, and temperature fluctuations, reducing the risk of mold growth and airborne pollutants. This leads to a healthier living environment and enhances the effectiveness of your air duct installation. By investing time and resources into insulating your ductwork, you can enjoy long-term benefits in both comfort and efficiency.
FAQS
Can I install my own ductwork without professional help?
Yes, you can install your own ductwork if you have the right tools, materials, and knowledge. However, it is important to follow a detailed guide and be aware of local building codes.
What tools do I need for ductwork installation?
Essential tools for ductwork installation include a tape measure, tin snips, a level, a screwdriver, duct tape, and possibly a drill. Safety gear like gloves and goggles is also recommended.
How do I ensure my ductwork is properly insulated?
To properly insulate your ductwork, use insulation materials specifically designed for ducts, such as fiberglass or foam. Ensure the insulation is tightly fitted and covers all exposed sections to minimize energy loss.
What are common mistakes to avoid when installing ductwork?
Common mistakes include improper sizing of ducts, poor sealing of joints, inadequate support for duct sections, and neglecting insulation. Taking your time and following guidelines can help you avoid these issues.
What should I do if I encounter installation issues?
If you encounter installation issues, such as airflow problems or leaks, refer to troubleshooting resources or guides. You may also consider consulting a professional for advice or assistance if needed.