Table Of Contents
Cleaning the Blower Wheel
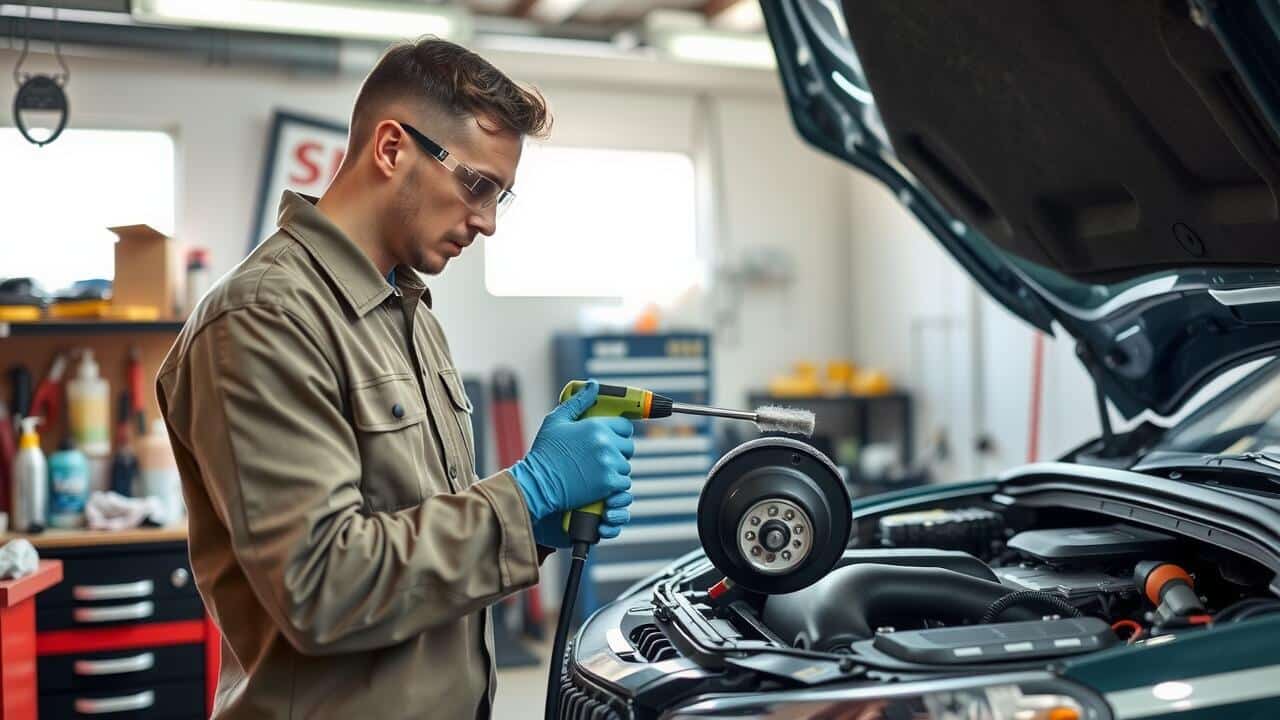
Cleaning the blower wheel is an essential step in maintaining optimal performance of your HVAC system. Over time, dirt and debris can accumulate, leading to reduced airflow and efficiency. To begin the process, turn off the power to the unit completely. This ensures safety while you work. Remove the blower wheel from its housing carefully, taking note of how it is assembled for reinstallation later.
Using a soft brush or a vacuum with a brush attachment, gently clean the blades of the blower wheel. This method minimizes the risk of damaging the components while effectively removing accumulated debris. For sticky residues, a mild detergent mixed with water can be used; make sure to avoid harsh chemicals that could harm the materials. After cleaning, allow the components to dry thoroughly before reassembling. This thorough approach ensures that the blower motor cleaning process is both effective and safe for your system’s longevity.
Techniques for Effective Cleaning
When it comes to blower motor cleaning, using the right tools is essential for effective results. A soft brush can dislodge dirt and debris from the blower wheel without causing damage. Additionally, a vacuum cleaner attachment helps remove any loose particles that may be trapped in hard-to-reach areas. Always ensure the power to the blower motor is off before beginning the cleaning process to avoid any accidents.
After brushing and vacuuming, a damp cloth can be utilized to wipe down the surfaces of the blower motor. This helps remove any stubborn grime that the brush might have missed. For tough spots, a mild cleaning solution can be applied. It is crucial to avoid any corrosive chemicals that may harm the motor’s components. Thorough cleaning not only improves the performance of the blower motor but also extends its lifespan.
Inspecting Electrical Components
When performing Blower Motor Cleaning, meticulous attention to the electrical components is crucial. Start by disconnecting the power supply to avoid any risk of electric shock. Inspect the wiring harness for any signs of wear, fraying, or corrosion. Pay close attention to connectors and terminal points, as these areas are prone to damage. A visual inspection can often reveal issues that might not be immediately apparent during regular operation.
After examining the wiring, check other electrical components such as capacitors and relays. Look for any discoloration or bulging, which can indicate failure. If damage is suspected, it is vital to replace these components before reassembling the blower motor. Ensuring the integrity of the electrical parts not only contributes to effective performance but also prolongs the lifespan of the blower motor.
Signs of Damage to Watch For
When performing blower motor cleaning, it is essential to inspect the electrical components for any signs of damage. Look for frayed wires, burnt connectors, or signs of overheating. Discoloration around electrical connections can indicate that excessive heat has affected the part’s functionality. Damaged components can lead to performance issues and potentially hazardous situations, making early detection crucial.
Another sign to monitor is unusual sounds during operation. Unusual grinding, rattling, or humming noises may suggest that the motor or other internal parts are compromised. Additionally, if the blower does not operate at all, it could indicate a fault in the electrical system. Regular checks and maintenance during blower motor cleaning ensure that any issues are identified and addressed before they escalate.
Reassembling the Blower Motor
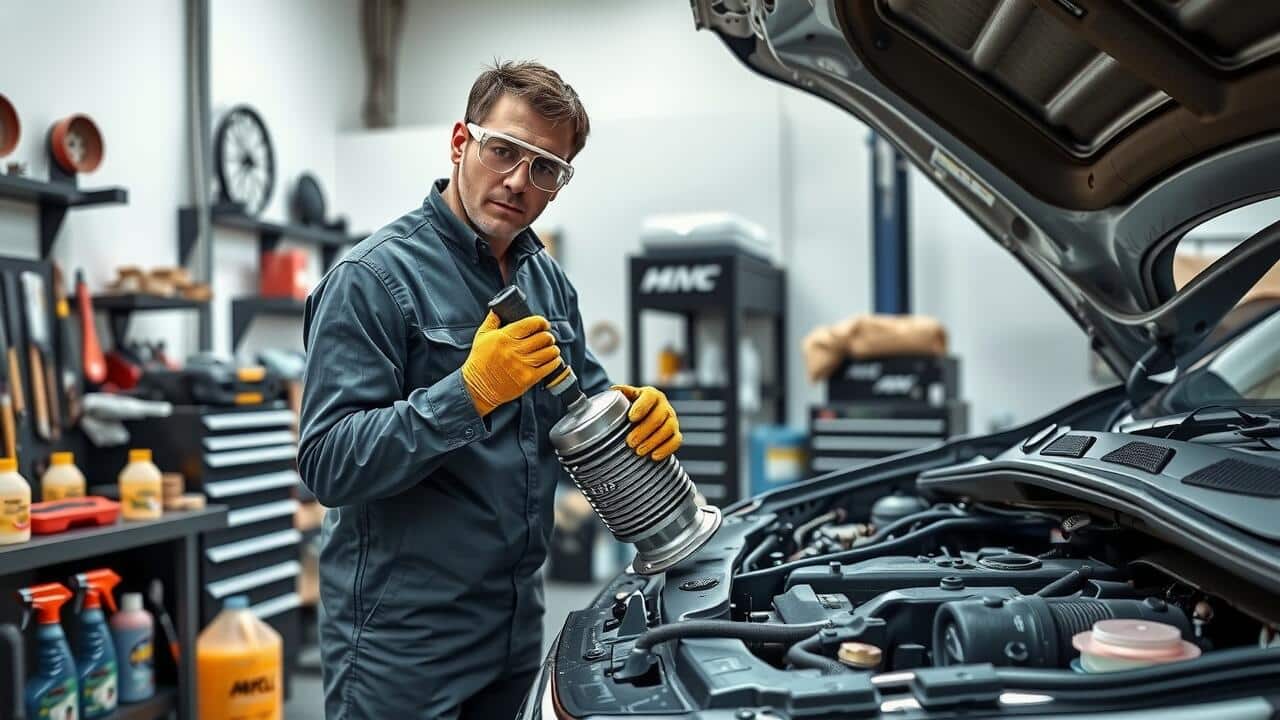
After ensuring all components are clean and dry following the Blower Motor Cleaning process, begin the reassembly by placing the blower wheel back onto the motor shaft. Align it correctly to avoid any imbalance and ensure efficient operation. Secure it with the retaining clip or nut previously removed. It is vital to check that all gaskets and seals are properly positioned to prevent any air leaks, which could diminish the unit’s overall performance.
Next, reattach the electrical connections, ensuring that they are secure and correctly placed according to the original configuration. Take special care to avoid pinched wires or loose connections. Once everything is in its rightful place, double-check all fasteners and connections for tightness before closing up the blower housing. This attention to detail during the reassembly stage plays a crucial role in restoring the blower motor’s functionality and extends its lifespan.
Proper Reassembly Techniques
After cleaning the various components of the blower motor, proper reassembly is crucial to ensure optimal function. Start by replacing the blower wheel, ensuring it is seated correctly on the motor shaft. Apply a light coating of lubricant to any moving parts as needed. This will help reduce friction and promote efficiency. It’s important to refer to the service manual for your specific model to avoid misalignment or improper placement of components.
Once the blower wheel is in place, reattach any covers or panels securely, making sure all screws and bolts are tightened to the manufacturer’s specifications. Double-check the connections for any wiring harnesses or electrical components. Properly completing these steps during blower motor cleaning will not only prolong the life of the motor but also enhance its overall performance. A thorough inspection at this stage can prevent future issues related to airflow or noise, ensuring that the system operates smoothly.
FAQS
Why is it important to clean the blower motor?
Cleaning the blower motor is important because it ensures optimal performance, improves air quality, and prevents overheating, which can lead to system failures.
What tools do I need to clean a blower motor?
Typically, you will need a screwdriver, a vacuum cleaner with a brush attachment, soft cloths, and possibly a mild cleaning solution.
How often should I clean my blower motor?
It is recommended to clean your blower motor at least once a year, or more frequently if you notice a buildup of debris or if you live in a dusty environment.
What are the signs that my blower motor needs cleaning?
Common signs include reduced airflow, strange noises from the motor, or a noticeable increase in energy costs, indicating that the motor is working harder than it should.
Can I clean the blower motor myself or should I hire a professional?
You can clean the blower motor yourself if you are comfortable with basic electrical and mechanical tasks. However, if you are unsure or notice significant damage, it is advisable to hire a professional.